
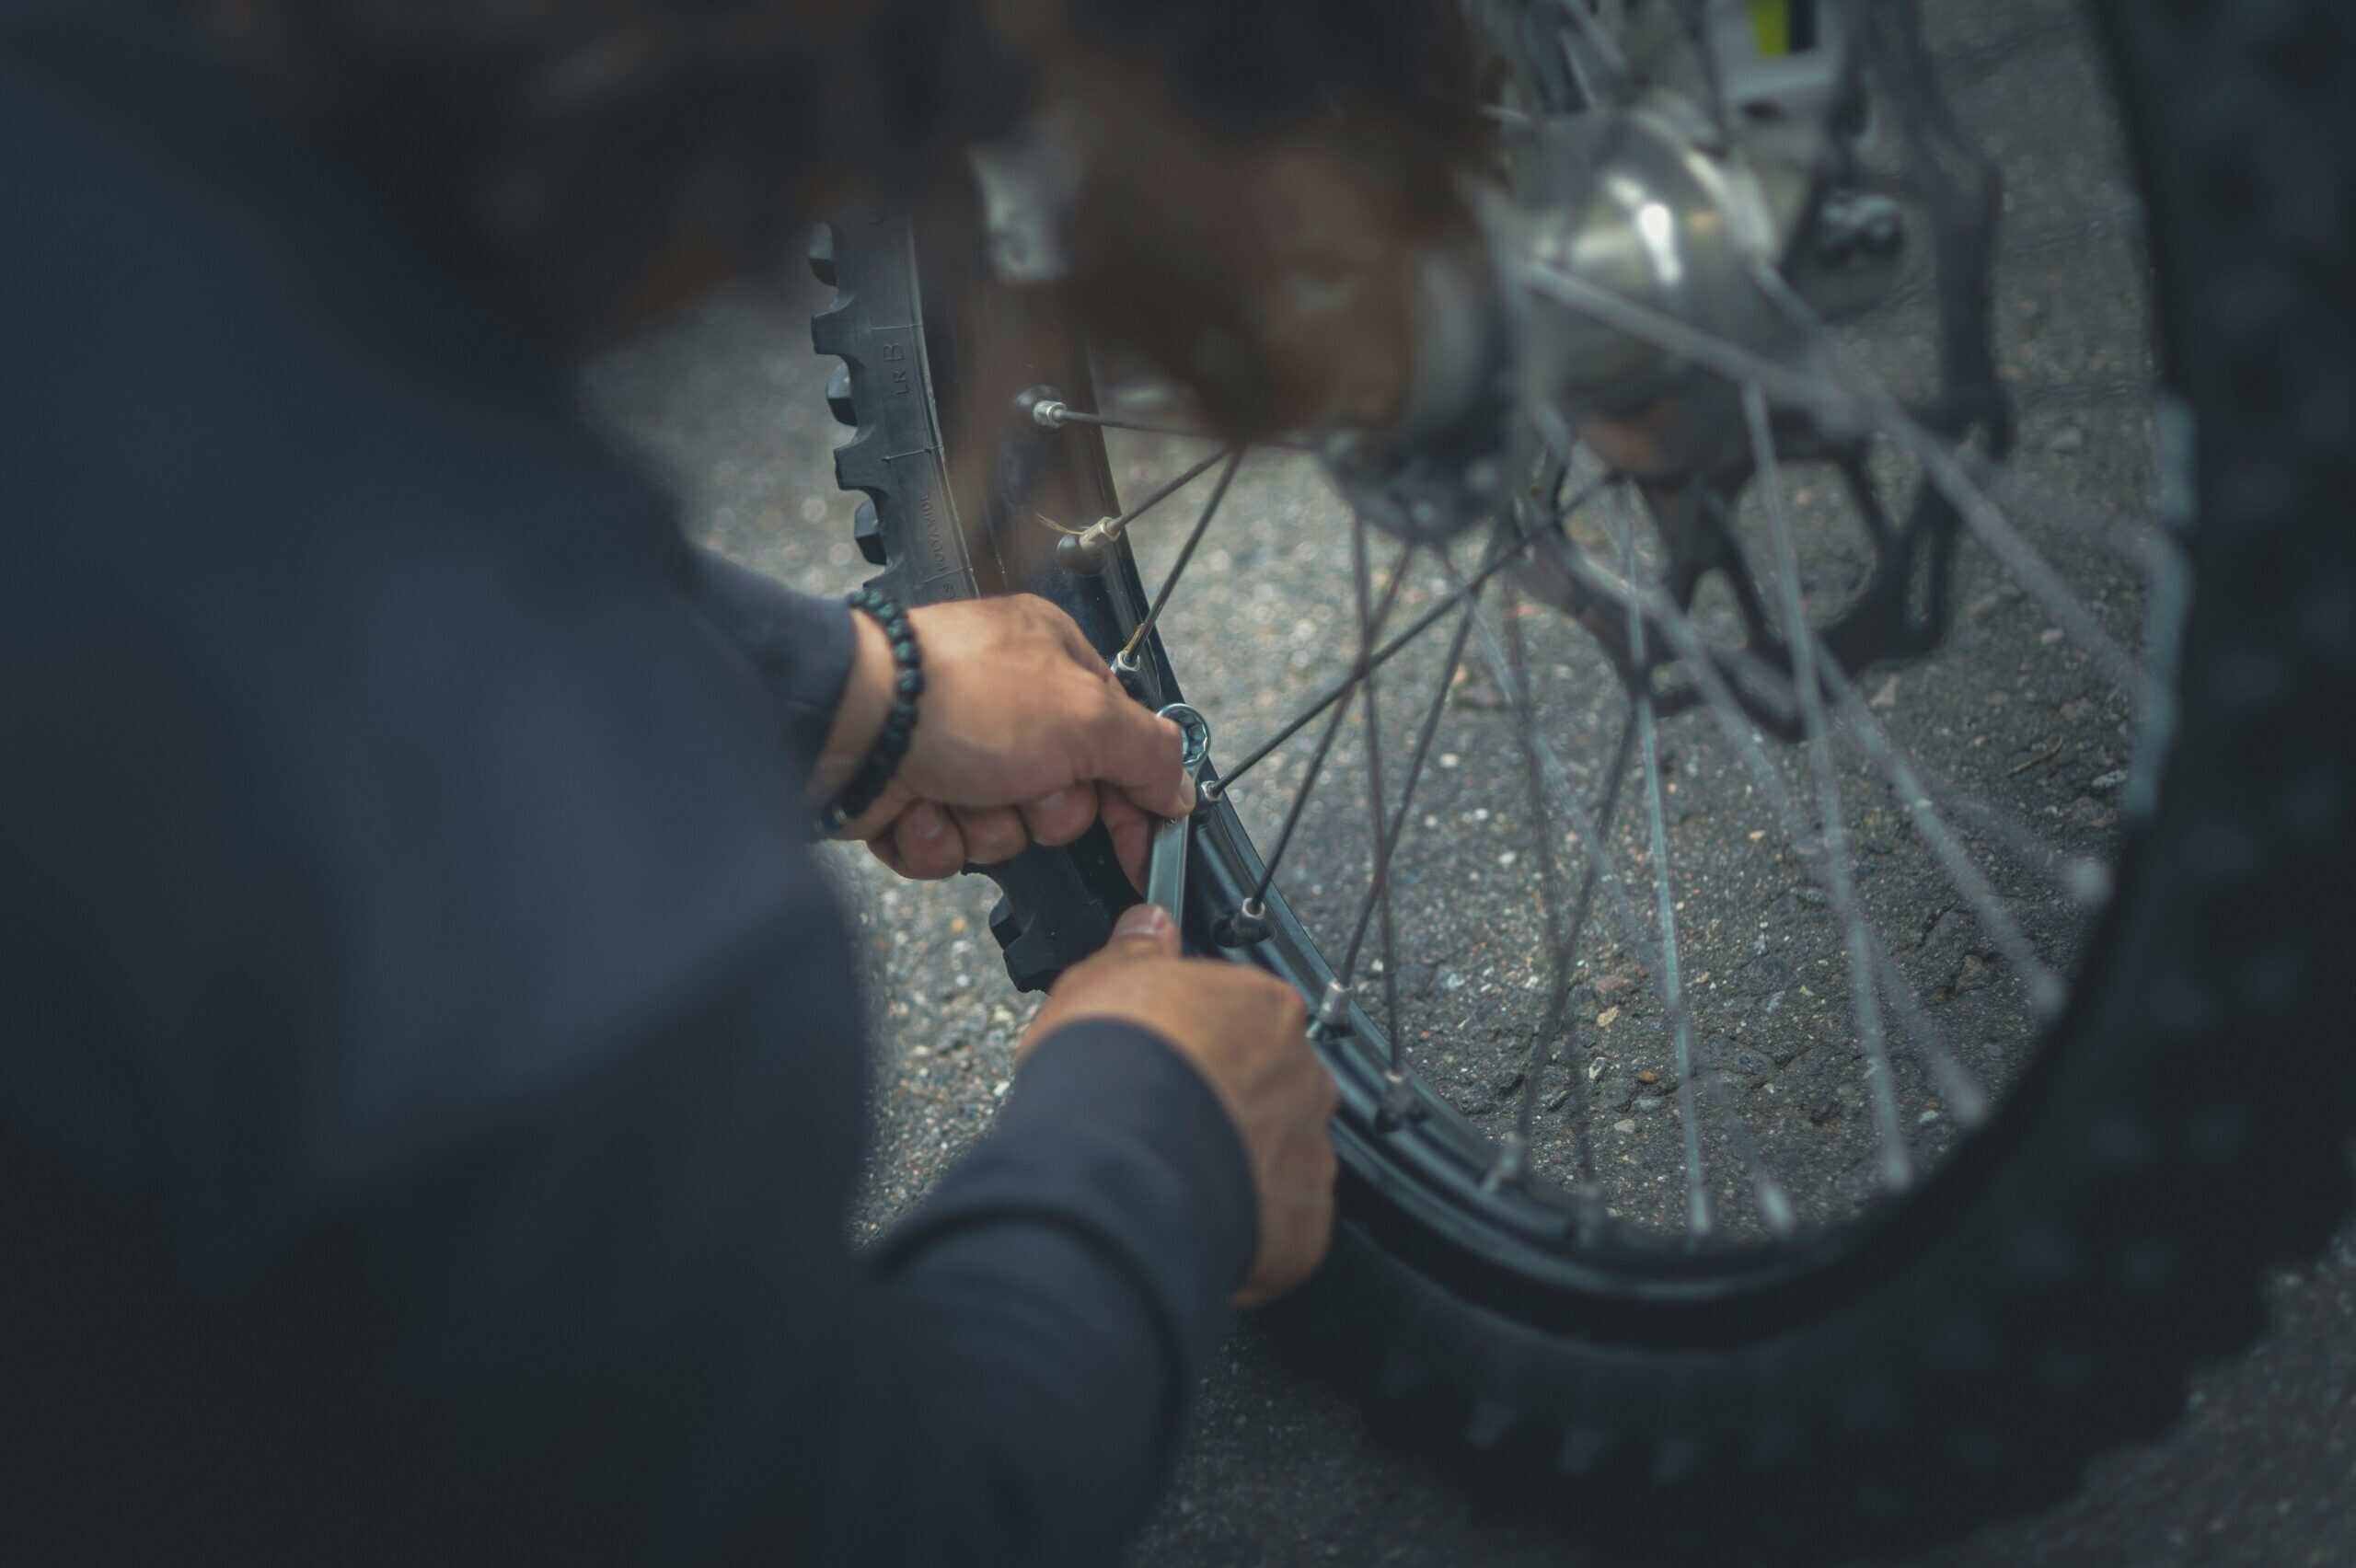
The step most people skip is checking why the tire went flat. Fitting a fresh tube over a thorn still embedded in the tire gives you two punctures instead of one, usually within a few hundred meters, and now you are out of spares.
Running a finger around the inside of the casing takes fifteen seconds and prevents the walk home. Our roundup of mountain bike pedals covers what to carry.
A Safety Note
Move well clear of the trail before starting. A rider descending at speed cannot stop for someone kneeling in the tread, and blind corners are where this goes wrong. Take the bike off the trail entirely rather than working on the edge of it.
Quick Answer
Remove the wheel, find and remove whatever caused the puncture, fit the spare tube with a little air in it, seat the tire evenly, and inflate. Check the casing before the tube goes in.
What You Need to Be Carrying
A spare tube
The right size and valve type for your wheels. A tube that does not match is the same as no tube at all.
Tire levers
Two is enough for most tires. Plastic rather than metal, since metal levers damage rims and can pinch the new tube.
A pump or CO2
A mini pump always works and takes effort. CO2 is fast and finite, and a cartridge wasted on a badly seated tire is gone.
A multi-tool
For bolt-through axles and anything else that comes loose. Our roundup of frame bags and storage covers where it all lives.
Getting the Wheel Off
Shift to the smallest rear sprocket first if it is the back wheel. That gives the derailleur the most slack and makes removal and refitting considerably easier.
Open the brake if it is a rim brake. Disc brakes need nothing, though the wheel must go back fully seated in the dropouts or the rotor will rub.
Never squeeze a disc brake lever with the wheel out, since the pads close on nothing and are awkward to reset. A brake spacer prevents it and few people carry one, so the practical answer is not touching the lever.
Lay the bike on its non-drive side or hang it from a branch. Resting it on the derailleur is how derailleur hangers get bent.
Finding the Cause
This is the part that decides whether the repair holds. Inflate the removed tube if it still holds any air and listen or feel for the escaping air to locate the hole.
The position of the hole on the tube tells you where to look in the tire, since the tube sits in a fixed orientation relative to the valve. Line the valve up with the valve hole and the puncture points at the spot.
Run a finger carefully around the entire inside of the casing. Thorns, glass, and wire fragments frequently stay embedded and are easier to feel than to see.
Two holes side by side is a pinch flat from hitting something hard at low pressure, which means no debris to find and a pressure problem to fix instead. Our note on mountain bike saddles covers avoiding those.
Fitting the New Tube
Put just enough air in the spare to give it shape. A limp tube twists and gets pinched under the bead; an over-inflated one will not fit.
Insert the valve through the rim first, then work the tube into the tire all the way round.
Push the tire bead back over the rim with your thumbs, working from opposite the valve and finishing at it. The last section is always the tightest.
Use levers only as a last resort at that final stretch, and be careful, since levering a bead over a tube is the most common way to puncture the new one immediately.
Seating and Inflating
Before adding full pressure, push the valve up into the tire and pull it back down. That frees the tube if it has caught under the bead at the valve, which is a common failure point.
Inflate partially, then check the bead line all the way round on both sides. Most tires have a molded line that should sit an even distance from the rim edge everywhere.
A section sitting high or low means the bead is not seated. Deflate, work it into place, and try again rather than inflating past it.
Then bring it to riding pressure. Our roundup of trail tires covers the casing you are working with.
Broken Chains and Other Stops
A flat is the most common failure and a snapped chain is the one that most often ends a ride, because a rider without a chain tool has no options at all.
The repair is straightforward with the right parts: break out the damaged link with the chain tool on your multi-tool, then join the ends with a quick link matched to your chain’s speed. The chain ends up marginally shorter, which is fine for riding out.
A quick link weighs essentially nothing and costs very little, which makes it the highest-value item you can add to a repair kit after the tube.
The other common trailside stop is a bent derailleur hanger, usually from laying the bike down on its drive side or a rock strike. A bent hanger throws shifting out and can put the derailleur into the spokes, so the safe response on a badly bent one is shifting to a middle gear and riding out gently rather than trying to bend it back. Our roundup of chain care covers keeping it healthy.
Tubeless Punctures
Tubeless setups seal small punctures automatically, and the sealant does the work without you knowing. Larger holes do not seal.
A plug kit is the first response: ream the hole, insert the plug, trim it, and reinflate. That fixes most cuts big enough to defeat sealant.
Where the tear is too large to plug, fitting a tube is the fallback. That means removing the valve stem and dealing with sealant, which is messy and works.
Carrying both a plug kit and a spare tube covers the range, and tubeless riders skipping the tube on the grounds that sealant handles it are the ones who walk out. Our roundup of repair tools covers plug kits.
What Goes Wrong
Not finding the thorn is the classic, and it produces a second flat within minutes of setting off.
Pinching the new tube with a lever is the second, and it is why the last section of bead should go on by hand where possible.
Forgetting rim tape is the one people never consider. Damaged or shifted tape exposes spoke holes, which puncture tubes from the inside repeatedly and look like bad luck.
Wasting a CO2 cartridge on an unseated tire is the fourth, and it is why partial inflation and a bead check come before the cartridge.
Trailside Flat Repair FAQ
Why did my new tube go flat immediately?
Almost always because whatever caused the first puncture is still in the tire. Run a finger around the entire inside of the casing before fitting a tube, since thorns and glass fragments stay embedded.
What is a pinch flat?
Two holes side by side, caused by the tube being crushed between rim and an obstacle at low pressure. There is no debris to find, and the fix is running appropriate pressure rather than a better tube.
Should I use a patch or a spare tube?
A spare tube on the trail, because it is faster and more reliable in the cold with dirty hands. Patch the punctured tube at home and carry it as a backup.
Do I need tire levers?
For most tires yes, and use them mainly for removal. Getting the last section of bead back on by hand avoids the most common way of puncturing the new tube.
CO2 or a pump?
A pump always works and takes effort. CO2 is fast and you can run out, so partial inflation and a bead check before firing a cartridge matters.
What about tubeless?
Sealant handles small punctures on its own. Larger holes need a plug kit, and a tear too big to plug means fitting a tube, so carrying both is the sensible arrangement.
Can I ride on a flat to get out?
Only very slowly and briefly. Riding on a flat destroys the tire, damages the rim, and a bent rim is a considerably more expensive problem than a walk.
Why do I keep getting punctures in the same wheel?
Check the rim tape. Damaged or shifted tape exposes spoke holes that puncture tubes from the inside, which reads as bad luck and is a five-minute fix.
Recommended Reading
See our note on what to carry on a ride.
