
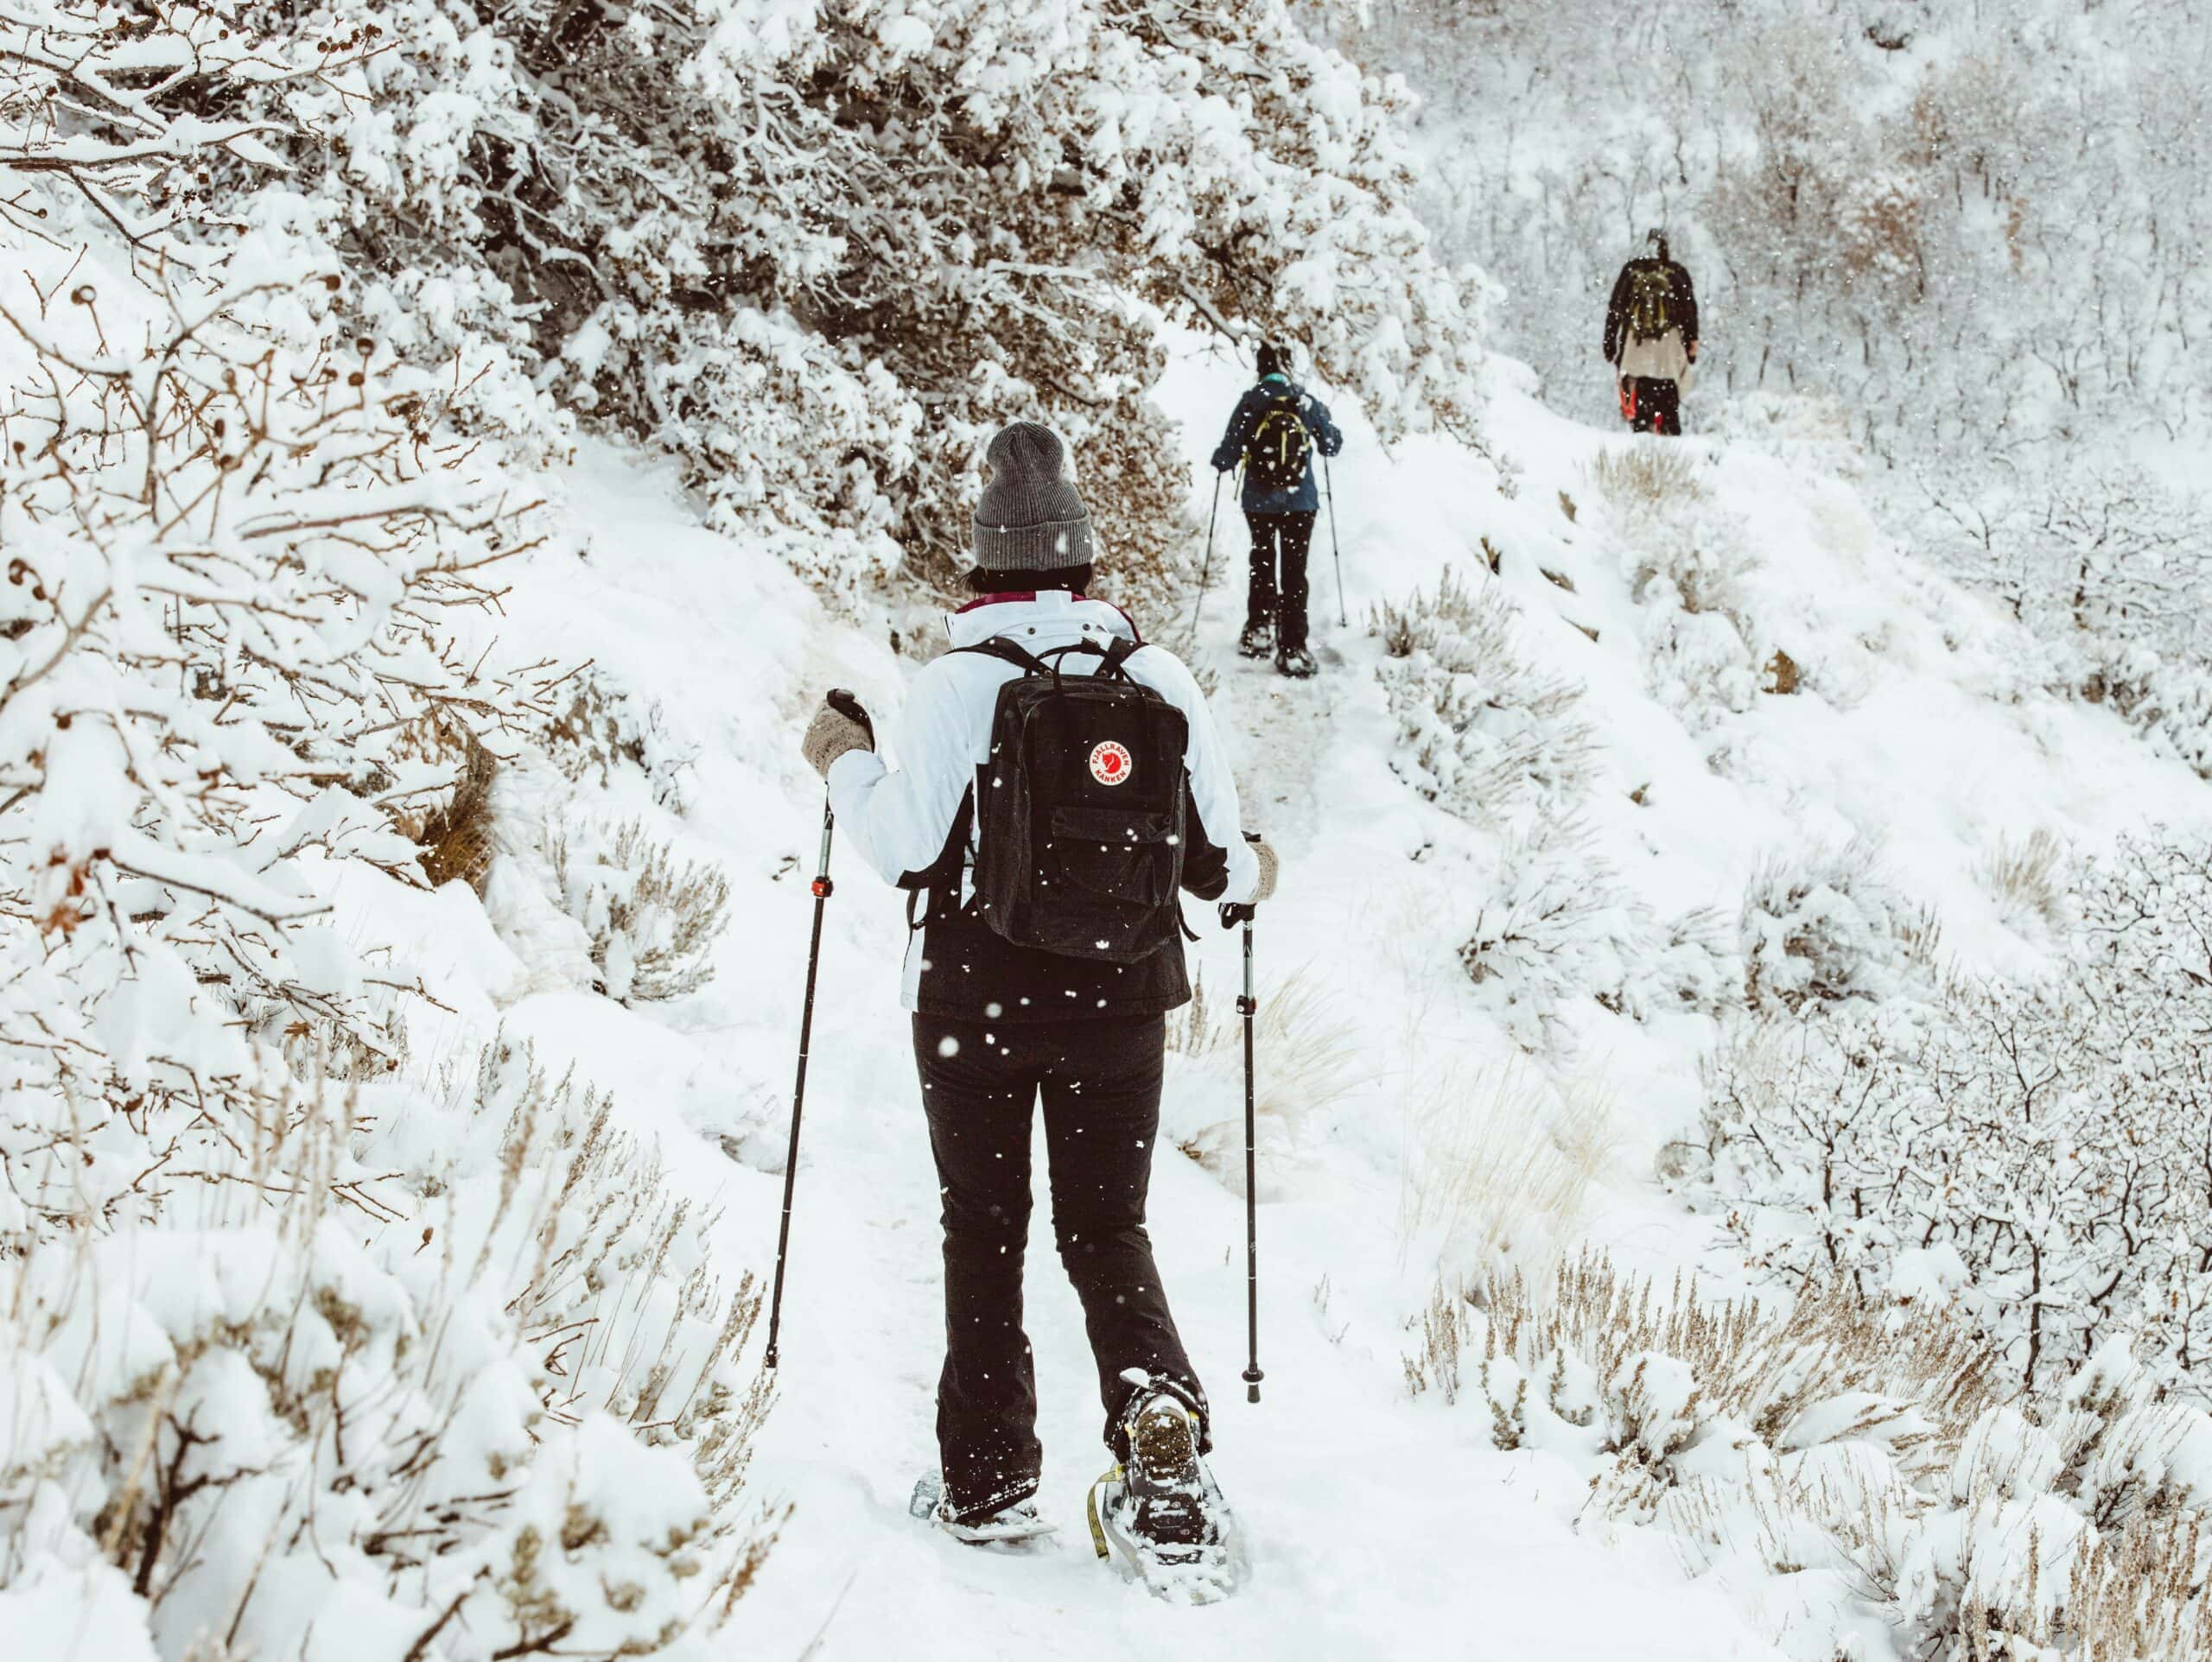
Snowshoes work by spreading your weight across enough surface area that you stay near the top of the snow instead of sinking to your knees. Size follows total weight, meaning you plus your pack plus your winter layers, and getting that number wrong is why people either wallow through powder or carry more shoe than the conditions need.
The second decision is terrain. Rolling trails need flotation. Steep slopes need aggressive crampons and a heel lift bar. A shoe built for one performs poorly at the other, and most people buy for the trip they imagine instead of the trips they take.
Quick Verdict
Buy flat-terrain snowshoes sized to your loaded weight if you walk groomed and rolling trails. Buy mountain snowshoes with full crampons and a heel lift if you climb. Add poles with snow baskets regardless, because balance on uneven snow is where most falls happen.
Key Takeaways
- Size by your total loaded weight, not your body weight alone
- Powder needs more surface area than packed trail does
- Heel lift bars cut calf fatigue on sustained climbs
- Binding type decides how much fiddling happens in cold weather with gloves on
- Tails add flotation to a smaller shoe when conditions change
- Snowshoes replace neither traction devices on ice nor skis on descents
How We Picked
Flotation ratings came first. Manufacturers publish a weight range per size, and the range assumes average snow. Deep unconsolidated powder needs more area than the chart suggests, so we favored models offering a size up or a tail attachment rather than one fixed footprint.
Binding usability came second. Cold hands and thick gloves turn a strap system into a five-minute job at the trailhead. Ratchet and boa-style closures that work with gloves ranked above webbing straps that need bare fingers.
Traction hardware settled the rest. Toe crampons, side rails, and heel claws all do different jobs, and a shoe with a token toe crampon slides on anything steep. We weighted the completeness of the traction package over the brand.
1. The Flat-Terrain Snowshoe
Why It Stands Out
Built for rolling trails, frozen lakes, and forest tracks, these prioritize flotation and easy walking over climbing hardware. They cost less, weigh less, and suit the terrain most winter hikers cover.
Worth Knowing
Traction is limited to a modest toe crampon and some side grip. On a steep icy pitch that is not enough, and a fall on a hard slope carries real consequences. Know the route before choosing this category.
Right for groomed trails, lake crossings, and gentle forest terrain. Skip it for anything involving sustained climbing.
2. The Mountain Snowshoe
Why It Stands Out
Aggressive toe crampons, full side rails, and a heel lift bar make steep ascents manageable. The lift bar in particular changes a long climb, holding your heel higher so your calf works less over hundreds of steps.
Worth Knowing
Mountain shoes weigh more and run smaller in surface area, since climbing terrain runs wind-packed rather than deep. In genuine powder they sink more than a flotation-focused shoe. They also cost a good deal more.
Right for steep terrain, alpine approaches, and variable mountain snow. Skip it for flat trails, where the weight buys nothing.
3. The Running and Fast-Hiking Snowshoe
Why It Stands Out
Narrow, short, and light, these let you move at pace on packed trails without the wide stance a full-size shoe forces. For anyone covering distance on established routes, the reduced weight per step adds up over miles.
Worth Knowing
Small surface area means minimal flotation. Step off the packed track into fresh snow and you sink. These suit firm conditions rather than a particular terrain.
Right for packed trails and fast movement. Skip it after fresh snowfall.
4. The Deep Powder Snowshoe
Why It Stands Out
Long tapered frames with large surface area keep you near the surface in unconsolidated snow. In genuine powder, where a standard shoe leaves you thigh-deep, the extra flotation is the difference between hiking and swimming.
Worth Knowing
Large shoes force a wider gait that tires hips and groin over a day, and they catch on brush and deadfall in tight forest. They are also awkward on hardpack, where the surface area does nothing and the length gets in the way.
Right for deep snow regions and off-trail travel. Skip it for maintained trails.
5. The Snowshoe Tail Extension
Why It Stands Out
Clip-on tails add surface area to a shoe you already own, turning a mid-size pair into a powder pair for a fraction of buying both. Carry them in the pack and fit them when conditions change.
Worth Knowing
Tails only fit their matching model, so this is a decision made at the time of the original purchase rather than later. They also add length behind the heel, which catches on steps and steep ground.
Right for people who see both packed and deep conditions. Skip it if your snow is consistent.
6. The Snowshoe and Pole Package
Why It Stands Out
Poles with snow baskets are not optional equipment on snowshoes. They carry balance on uneven surfaces, help on climbs, and catch you when a shoe punches through a crust. Packages bundle both at less than buying separately.
Worth Knowing
Bundled poles are often basic, and the baskets are the part that matters. Small trekking baskets sink in powder, so check the basket diameter rather than the pole material. Pole options generally are covered in tips and baskets.
Right for a first snowshoe purchase. Skip the bundle if you already own poles with winter baskets.
Walking in Them
Widen your stance before you need to
Snowshoes force your feet apart, and the adjustment feels awkward for the first mile. Practicing on a short flat outing before a full day saves the hip and groin ache that catches people out.
Kick steps on the ascent
On firm snow, drive the toe crampon in with a deliberate kick rather than stepping flat. The crampon does the work, and the technique matters more than the hardware on a steep pitch.
Use the heel lift early
Flip the bar up at the bottom of a climb rather than partway through when your calves are already burning. It costs a few seconds and changes how the whole ascent feels.
Descend with weight back
Leaning forward on a descent puts your weight over the toe and slides the shoe out. Keeping weight over the heel and taking shorter steps holds the traction where it works.
Snowshoes at a Glance
| Type | Flotation | Traction | Best terrain |
|---|---|---|---|
| Flat terrain | Good | Basic | Rolling trails, lakes |
| Mountain | Moderate | Aggressive | Steep and alpine |
| Running | Minimal | Moderate | Packed trails |
| Deep powder | Highest | Basic to moderate | Off-trail powder |
| Tail extension | Adds to base shoe | Unchanged | Variable conditions |
| Pole package | Not applicable | Not applicable | First purchase |
How to Size Snowshoes
Add up your loaded weight
Body weight, pack, winter layers, boots, and water. A person at 180 pounds carrying a 25 pound winter pack is a 205 pound load, and the sizing chart works from that figure rather than the number on the scale.
Adjust for snow conditions
Charts assume settled snow. Cold dry powder supports less weight per square inch, so size up if your winters run deep and light. Wet coastal snow packs harder and forgives a smaller shoe.
Consider the terrain width
Tight forest, brush, and narrow trails punish a wide shoe. Open country rewards it. If most of your hiking threads through trees, a narrower shoe that fits between trunks matters more than maximum flotation.
Check boot compatibility
Bindings have a size range, and a large insulated winter boot can exceed what a binding closes around. Try the combination before the first trip, and see boot selection for what pairs well.
Snowshoes Versus Traction Devices
What each one solves
Snowshoes solve depth. They keep you on top of soft snow and do nothing useful on ice. Traction devices solve grip. They bite into hard packed snow and ice and do nothing about sinking.
Carrying both
Winter routes often change surface halfway. Deep snow in the trees, wind-scoured ice above the treeline. Many winter hikers carry snowshoes and a set of cleats, switching at the transition rather than committing to one for the whole route.
Common Snowshoe Mistakes to Avoid
Sizing by body weight alone
The pack and the winter clothing add a meaningful percentage. Sizing from body weight leaves you undersized on exactly the deep days when flotation matters.
Buying mountain shoes for flat trails
Heel lifts and full crampons cost money and weight you will not use on a lake crossing. Match the shoe to where you actually walk.
Skipping poles
Balance on uneven snow is harder than it looks, and a shoe punching through a crust drops you sideways without warning. Poles with proper snow baskets prevent most of those falls.
Fitting bindings at the trailhead
Adjusting a binding for the first time with cold hands in a car park wastes daylight. Set the fit at home with the boots you will wear, and check that layering in winter layering does not change your boot size.
Recommended Reading
- the wider winter gear list
- gaiters that keep snow out of boots
- layering for cold and exertion
- socks for cold weather
- headlamps for short winter days
- first aid for cold conditions
- planning a hiking route
Related: snowshoes vs microspikes.
Frequently Asked Questions
What size snowshoes do I need?
Size from your total loaded weight, including pack, layers, and boots. Manufacturer charts give a range per size, and deep dry powder calls for going up rather than staying at the edge of a range.
Do I need poles with snowshoes?
They make a substantial difference to balance on uneven snow and to climbing. Use poles with wide snow baskets rather than small trekking baskets, which sink through soft snow and give you nothing.
Can I use snowshoes on ice?
Poorly. Snowshoes address depth rather than grip, and their crampons are sized for snow. Ice calls for traction cleats, and many winter routes justify carrying both.
What is a heel lift bar for?
It props your heel up on sustained climbs so your calf muscle works through a shorter range. On a long ascent the reduction in fatigue is noticeable, and on flat ground the bar stays down and unused.
Do snowshoes work in shallow snow?
They function, and they are usually unnecessary below about six inches of settled snow. In that range boots with gaiters cover most terrain, and snowshoes start earning their place as depth increases.
What boots work with snowshoes?
Insulated waterproof boots with enough ankle support for uneven ground. Check the binding size range against your winter boots, since a bulky insulated boot can exceed what a binding accepts.
Flotation and grip are separate problems. traction cleats for ice covers the second.
